Elevate Physical Theraphy & Fitness

May 2018

Elevate’s Ankle Sprain Rehab

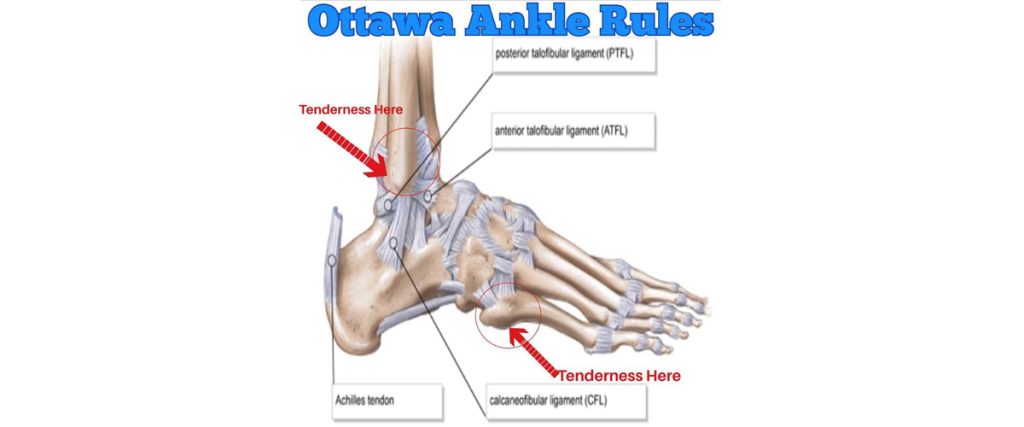
Sometimes it’s difficult to know if you’ve rolled your ankle or done something more that may require an x-ray. The Ottawa Ankle Rules help us decide whether or not an x-ray is warranted: Unable to put any weight on your injured side for 4 steps Tenderness at the base of your 5th toe. Tenderness 6 cm up from your ankle bone. If you have any of the above-mentioned rules, then you should get an x-ray to rule out a fracture. Lateral Ankle Sprains can vary in their severity. Clinically, ankle sprains  are generally classified into three groups: Grade 1: A stretch of the ligament that does not result in a tear. There is minimal swelling and tenderness, mild or no loss of function, and no mechanical instability of the ankle. Generally associated with strain to the ATFL. Grade 2: A partial tear of the ligament with moderate pain, tenderness, and swelling. There is some loss of function and presence of mild to moderate mechanical instability. Generally associated with strain to both the ATFL and CFL. Grade 3: A complete tear of the ligament with significant bruising, swelling, and tenderness. There may be an inability to bear weight on that foot, and there is significant instability of the ankle. Generally associated with strain to the ATFL, CFL, and potentially the PTFL as well. There may be swelling, bruising, and tenderness in your foot and ankle. It is important to note that the amount of swelling and bruising is not always indicative of severity of tissue damage. The best time to have a physical examination by your Physical Therapist is 4-5 days after your injury.     After an ankle sprain it is important to work on ankle mobility, motor control, and balance. The following exercises show a few examples of some exercises used to address those impairments. 1.Ankle CARs (Controlled Articular Rotations) – helps to regain mobility and useful as an assessment of motor control 2.CRAs Correctives – if you find an area of movement during your CARs that is more challenging or in uncontrolled (might be shaky or not a smooth path of movement), then you can work in that uncontrolled range to help improve your control over that particular range 3.Single Leg Balance – the video shows progressively more challenging ways of working on single leg balance. If you are in a lot of pain still and cannot bear your full weight on your injured side, you can do these exercises on your other side since there is a known cross-over effect for these exercises (training one side of the body will also have a training effect on the other side of the body) 4.Multi-directional reach – this works on your single leg stability in multiple planes of movement   In order to promote healing and help reduce the risk of future injury, it is important to progressively overload the tissues that support the ankle in order to create adaptation. The exercises in this video demonstrate a few ways that you can target loading of ankle inversion. Medial/Lateral Lunge Three Way Step Down Cross-Over Step Up Single Leg Medial/Lateral Reaches Single Leg RDL Single Leg Airplane With Rotations Single Leg Golfer RDL’s Single Leg Lateral Med Ball Toss You can gradually add weight to these to make them more challenging.

The Lowdown on Myofascial Release, aka Cupping

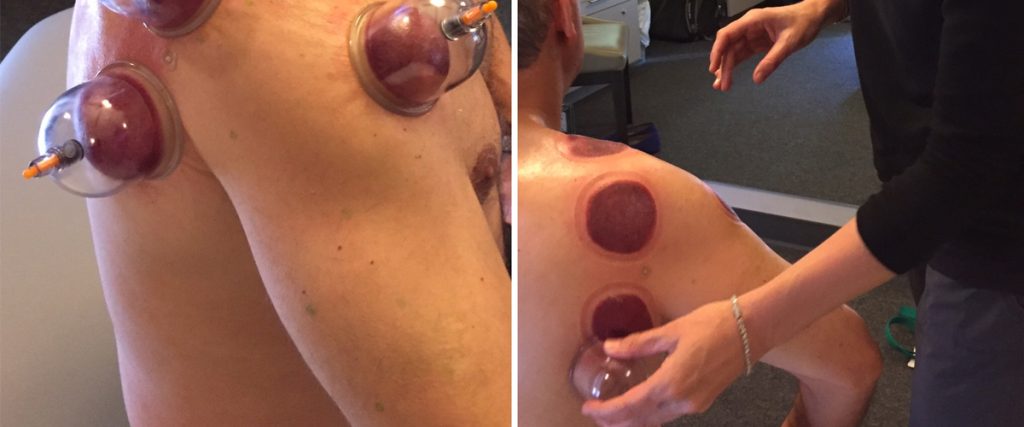
Do you remember the red circles on Michael Phelps’ back during the 2016 Summer Olympics? Athletes are among the most popular groups of people to use Cupping, also known as Myofascial Decompression (MFD), to treat soft tissue injuries in order to reduce soreness and speed up the healing of overworked muscles, but it’s also safe for patients of all ages and activity levels.  Myofascial Decompression is a negative pressure technique used in conjunction with active movements which make biomechanical structural changes in order to improve muscle flexibility, tissue tension, joint mobility, strength, and pain.  Common myofascial treatments, such as stretching, soft tissue massage, and myofascial/trigger point are all common “compressive” techniques, while MFD is the only “decompressive,” negative-pressure technique.  The origin of myofascial decompression has ancient roots. Traditional Chinese Medicine cupping uses heat and glass cups to provide the decompression of the restricted area to treat pain, headaches and immune disorders. Traditional Cupping is passive, as patients are generally seated or lying down and the cups are left on for up to 20 minutes.  MFD, on the other hand, uses plastic cups with a handheld pneumatic pump instead, in order to create a negative-pressure vacuum inside.  While the cups are positioned strategically on the patient’s body for a shorter duration, the patient then takes the affected joint or joints through active and active-assisted ranges of motion, guided by the physical therapist, in order to further the effects on the myofascial tissue. Once the cups are taken off the patient’s body, soft tissue massage and muscle activations are implored in order for the patient to maintain their new range of motion, mobility, strength, or decreased pain. Myofascial decompression can be done to the same area no more than once per week.  In response to the negative pressure, the tissue underneath the cup(s) becomes ischemic (there is restricted blood supply). Once the cup is released, there is an increase in blood flow and microcirculation within the local area.  Blood re-enters the tissues, which produce endorphins and enkephalins that help regulate pain. The result is an overall increase in temperature within the tissue, leading to a reduction of hyaluronic acid viscosity. This allows for improved tissue and fascial gliding and mobility.  MFD can target both superficial and deep fascial tissue and research has shown that it can increase both a muscle’s length and its strength in elite athletes.  MFD therapy also relieves pain by acting as a counterirritant and a decompressor of any type of nerve entrapment or compression.  

Concussions Part 4: Concussion Treatment

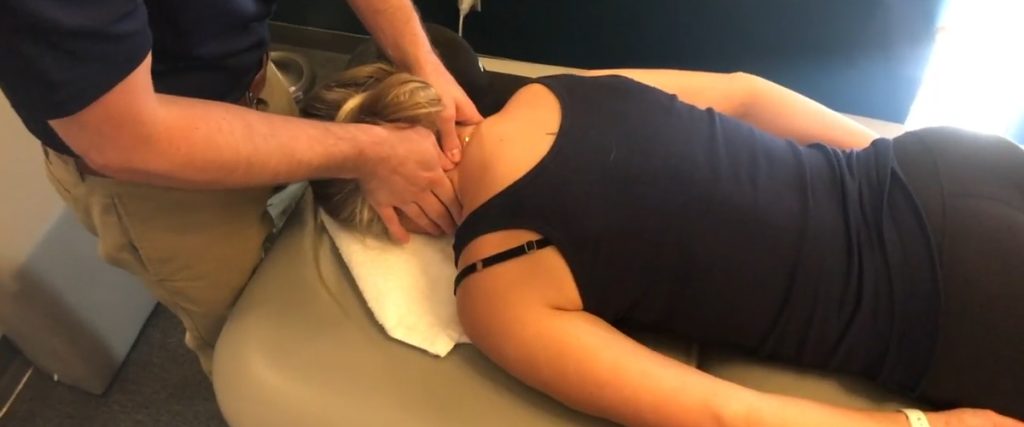
Following the diagnosis of concussion, patient and symptom-specific treatment is utilized to address the presenting impairments of each patient. It is a typical recommendation to implement activity modifications or restrictions during early management following a concussion. This period, which may last between 0-3 days, commonly involves recommendations for rest; altering school, work, and daily activities; limiting reading, television, video games, and computer use; and avoiding exertion, but decisions regarding these recommendations are based on symptom response. After this period of activity modification, presentation-specific treatment is typically implemented based on the patient’s symptoms and examination findings. Although treatments related to neck pain, vestibular-ocular dysfunction, and physiologic conditioning are commonly implemented in physical therapy, patient education, such as sleep and stress management strategies, and physician referrals are common in the management of patients with concussion. The video demonstrates various management strategies for several types of concussion seen in the physical therapy setting. Each treatment is specifically tailored to each patient to maximize their outcomes!

Concussions Part 3: Concussion Examination

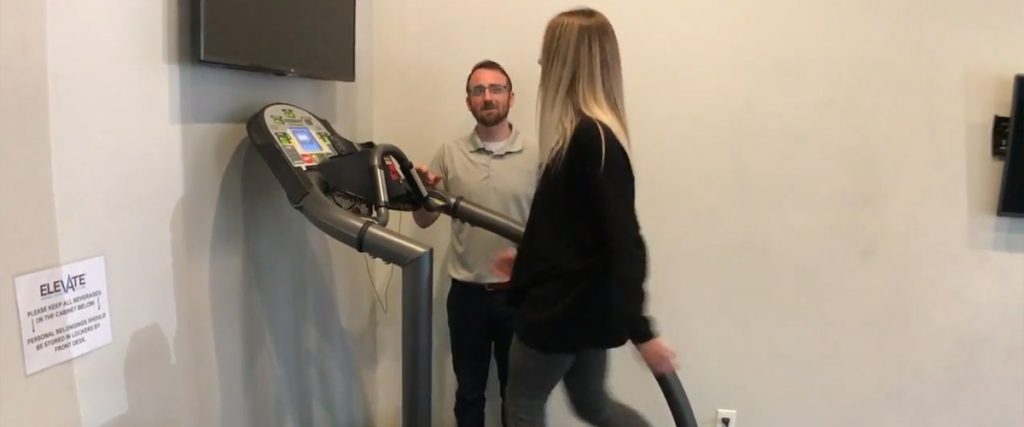
Patient and symptom-specific testing is crucial for identifying the subtypes of concussion presentations that may be present and determining the best treatment strategies. Here are some tests that are commonly used to categorize concussion. Symptom Assessment Examination begins with patient-reported symptoms utilizing a standardized, self-report symptom scale (pictured), which is vital for understanding and tracking symptoms following a concussion!   Neuro-cognitive testing Neuro-cognitive testing using tests, such as the King Devick Test (pictured), are vital for assessing visual performance, concentration, and memory. Physiologic testing Physiologic testing using the Buffalo Treadmill Test protocol, which is a standardized and progressive treadmill walking test is implemented for concussions to determine the impact of physical exertion on symptoms. Cervical spine testing Cervical spine testing that assesses posture, range of motion, muscle flexibility, joint mobility, and palpation for tenderness is used to determine if the neck is contributing to concussion symptoms that may include neck pain, dizziness, visual disturbances, and headache. Vestibular-ocular testing Vestibular and visual testing assess the status of the vestibular (inner ear) and the visual systems that are vital for visual tracking and focus and maintaining balance, which are often impacted after a concussion, resulting in difficulty reading, blurry vision, dizziness, and loss of balance.